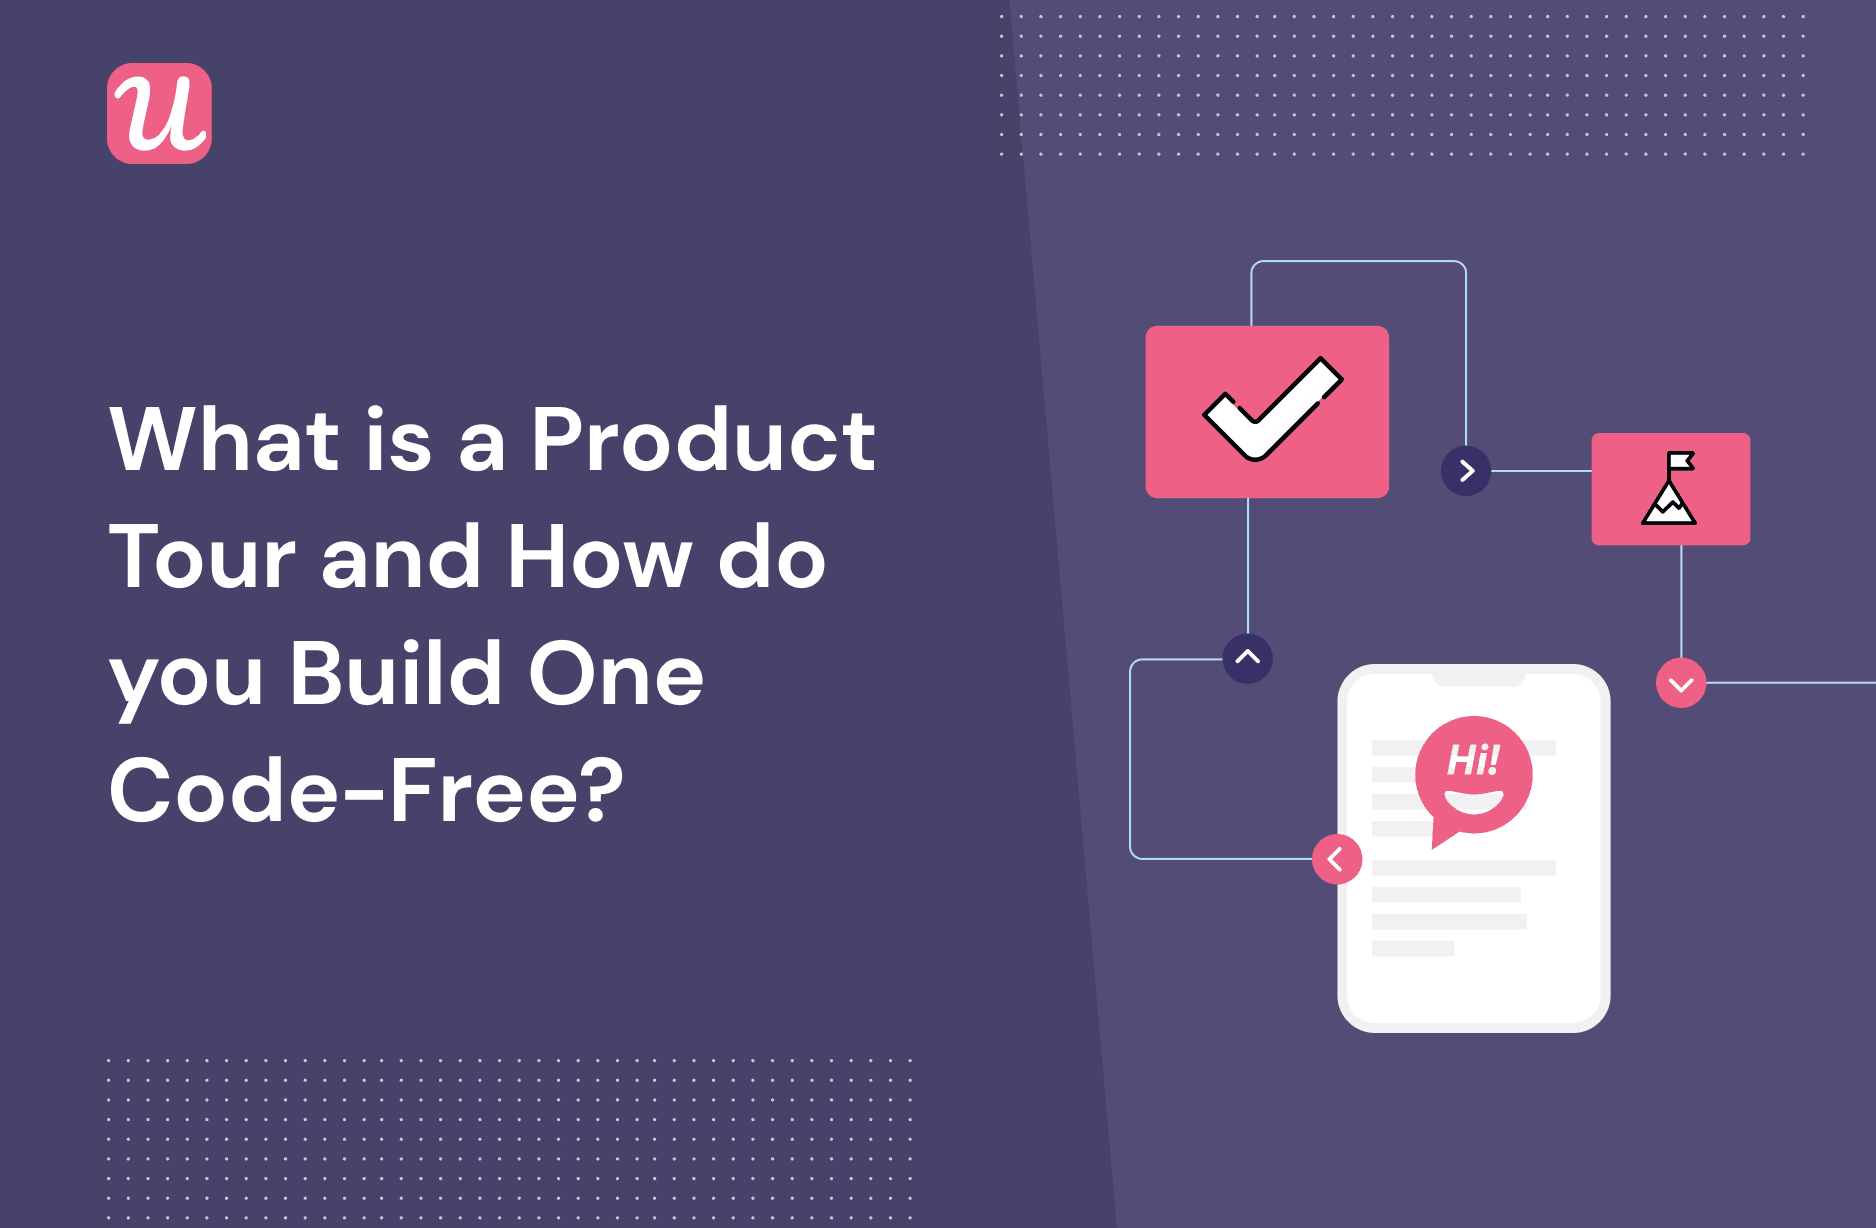
What Is A Product Tour And How Do You Build One Code-Free?
If you’re building a product tour for the first time, it’s hard to know where to start.
You want an onboarding process that matches your brand values, respects the needs of multiple user groups, is intuitive to follow, AND that ultimately ends up making you money!
Just the thought of creating something like that from scratch is probably enough to make you dizzy with anxiety.
But fear not! You don’t have to re-invent the wheel.
Let me explain how you can build a product tour without writing a single line of code.
TL;DR
- A product tour shows customers how to use the features of your product that they need in order to activate.
- Make sure your product tour is interactive, not linear.
- Most good product tours contain a welcome screen, a microsurvey for segmentation, a checklist, and multiple experience flows.
- It’s incredibly difficult to build a product tour from scratch unless you’re a coding genius, or have substantial dev resources available.
- It’s much easier (and cheaper) to use a product tour software like Userpilot instead.
Definition of a product tour

Product tours are used in user onboarding as a way to show customers how to derive value from your app.
Ideally, they illustrate to the customer what your product does in an interactive and engaging fashion.
A good product tour will guide users towards the core value of your product, a measurement that is relative to the person using it.
As the value of your product dawns on the customer, they will experience something known as the “Aha Moment,” which is when the penny starts to drop about why working with your business might be personally beneficial to them.

Once the customer experiences the value of your product in a first-hand way, they are said to be activated.
SaaS businesses often use product tours to onboard new users.
That being said, tours are just as valuable for highlighting new features during secondary onboarding as they are for the initial part of the user journey.
Feature adoption is correlated with metrics like retention, which have major financial consequences for SaaS businesses.
For more information about the value of retention, please read this post.
I’ve also seen SaaS businesses use product tours as part of employee training, especially when understanding a complicated app is essential to working in towards customer success.
Interactive product tours are essential
We’ve written numerous times on this blog in the past about how onboarding is like customer education. It’s an ongoing process, which never ends.
If you think back to your time in school, there were some teachers who would drone on and on, regardless of how engaged you were in the experience.
But there were also other teachers who turned learning into an interactive, two-way conversation and took your needs into account. I’m willing to bet you liked their classes more!
The product tour equivalent of the boring teacher is the linear product tour. And users hate them…

A linear product tour will generally deliver:
- Exactly the same information
- About exactly the same product features
- In exactly the same way
- To every single user
Put another way, a linear product tour doesn’t take the unique needs of individual customers into account.
The customer is simply processed by means of a top-down system, one that was pre-decided by a remote group of SaaS executives long before you ever came onto the scene as a customer.
If this sounds soulless and tedious, it’s because it is.
All it leads to is confused customers. Look at this example from a newsletter product tour where a user was asked to create a newsletter before uploading their email list. Hmmm…

So what’s the alternative? Interactive product tours.
As the name suggests, interactive tours are a back and forth between the customer and the product they are using.
The customer is only shown the narrow range of product features which are of interest to them, which is probably not many for a new product.
And they are an active part of the interactive product tour, which means that they get to complete small tasks and engage in “learning by doing.”
Since the SaaS world commonly associates the phrase “product tours” with the linear variety of tour, we often refer to great product tours on our website as “interactive walkthroughs,” just to make the distinction a bit clearer.
If you’re wondering how to create interactive product tours for your business, read on!
Main elements of a product tour
While every product tour is different, there are a number of key elements that we see repeatedly cropping up in the best tours we see online.
Here is our recipe for an excellent interactive product tour.
Start with the welcome screen

The welcome screen is a really important component of every great product tour, because it’s the first thing that your customer sees after sign-up.
It’s what’s known as a “dedicated UI pattern,” meaning that it takes up the whole of the user interface.
Here are some things that are included on most welcome screens:
- A smiley photo of one of your team
- A friendly message to welcome the new customer personally by name
- An introduction to your business, complete with a quick recap of the value you’re providing
- A quick outline of the next steps in your onboarding process
For example, if you were operating project management software, your welcome screen might say something like:
Welcome David!
We really appreciate you signing up to use PM HQ, your one-stop-shop for making sure all the tasks in your accounting business get done on time, every time.
Allow us to show you what a task board looks like on the next page!
Here’s a simple example of a welcome screen that was built using Userpilot by social media scheduling app Postfity:

Note the smiley face, the friendly tone, and the playful reminder to the user of what Postfity’s main value proposition is: turning the user into a social media ninja!
To improve this welcome screen, Postfity could address the user by name and include a photo of one of their team.
Remember to segment your users
But here’s the thing: if you were to make too much of being warm and fuzzy on your welcome screen, you’re just going to get in the way of what the user ultimately wants to do: which is to use your software.
So the smartest SaaS companies also use the welcome screen as a way to segment users into distinct groups.
Each customer segment has its own “Jobs to be done,” or types of goals that they want to achieve by using your product.
So for the project management example, those might look like this:
- Project manager: organize tasks and make sure they get done on time
- Junior employee: focus on own tasks
- Accountant: view financial data for each task
- CEO: ensure that the bigger picture of the business is proceeding according to plan
Practically speaking, the easiest way to segment your users in-app is by using something called a microsurvey.
This is a short survey with 2-3 questions that pops up right after the welcome screen. Here’s what a microsurvey looks like, courtesy of Kontentino:

I always think it’s a nice detail when SaaS businesses send surveys like this in-app, rather than to the user’s email inbox.
Even though an email might feel a bit more familiar, using the microsurvey keeps the customer in your app and away from the distractions of their inbox.
This means that you can expect a higher rate of engagement.
Create an activation checklist
Once the user has filled out your microsurvey, you should have a pretty good idea of which customer segment they belong to and which Jobs to be Done they want to aim at.
The next part of the product tour is create a checklist which summarizes those Jobs to be Done and get the user to work through them.
Your checklist should be different for every user cohort, and it should only contain the 2-3 specific product features that a particular customer segment needs to understand in order to activate.
If you give any more guidance than that, you’ll end up overwhelming your user, and risk giving them a linear product tour instead of an interactive walkthrough.
Here’s a good example of a checklist, once more from Postfity:

In Postfity’s case, to get their users to experience the core value of their product and activate, they need them to do two things:
- Add a social media account
- Schedule a social media post
Looking at the screenshot again, you can see that Postfity’s checklist asks new users to do both of those things.
This means that Postfity knows that any new users who complete the checklist will end up activating as a matter of course, which is great news from a commercial perspective.
But there are a couple of additional items on the checklist: Signed up, and Account Created. Why is that?
Here, Postfity’s thinking is that it’s motivating to give users credit for easy tasks that they’ve already achieved. That makes it more probable that those users will want to finish the rest of the checklist.
You’ve probably experienced the psychological pull of an unfinished checklist item. It’s quite hard to resist finishing it!
This is called the Zeigarnik effect, and it ensures that unfinished checklist items stay on our minds.
If you’re wondering what tasks to put on your own checklists, it will depend on what your users need in order to activate.
To find that out, look at your product analytics and compare the product features adopted by power users against those favored by users who churned early.
The features that are always favored by power users but never learned by Day 1 churners are likely to be the features that a given segment needs in order to activate.
Build an experience flow for each checklist item
To really make sure that your user internalizes how each feature works, your product tour should include an interactive experience flow for each activation step on the checklist.
That’s a bit jargon-y, so let me explain what I mean.
Going back to our Postfity example, it would be tedious for the user to read instructions like:
- Click on the blue button to the top-left which says “Connect accounts”
- Choose a social media account
- Click “Connect”
- Specify who this account belongs to
I can guarantee that the user would be starting to doze off at this point!
Far more effective is to have the user experience what it’s like to connect their account first hand through an interactive product tour.
In this case, Postfity created a tooltip that automatically highlights the right button to the user to get them started:

And for the next stage of activation, there’s also a handy tooltip showing the user what to do:

Tooltips are just one of a wide variety of UI elements that you can use to give guidance to your users in an interactive product tour.
Other resources include:
- Hotspots
- Modals
- Progress completion bars
- Demo content
- Content templates
For more about UX patterns, I recommend reading this post.
Is it better to create a user onboarding process with or without code?
Now that you know what goes into an interactive product tour, you’ll need to choose whether you build your user onboarding systems manually or look for a tool to help you.
Unless you’re highly tech-savvy and have built websites and mobile apps before, my guess is that it’s going to be tricky to build a product tour from scratch.
Consider that even creating something as simple as a tooltip will normally require 70-100 lines of code.

Then multiply that by all the different UX elements you need in your product tours… and remember that you need a separate product tour for each individual user segment!
It’s a daunting task, to say the least!
Do your developers really want to build (and maintain) multiple interactive walkthroughs AND build your whole site at the same time?
Use code-free product tour software
Fortunately, in 2022 you don’t have to re-invent the wheel every time you want to build a new product tour. The right software will save you a lot of time.
If you can allow even your non-technical product manager to build great product tours, imagine how much time (and money) this will save your development team!
The right product tour software will empower your product marketing team to be able to run cost-effective product experiments at the drop of a hat.
Since no product tour is perfect the first time you build it, being able to A/B test results on the basis of performance data is really helpful.
So which product tour software should you choose?
Give Userpilot a try

Our software, Userpilot, makes it easy to build product tours without using any code.
All you’ll need to do is install our Chrome extension, add a snippet of Javascript, and then you can get started.
It’s easy to build microsurveys in Userpilot. To find out how, read this article.
If you want to customize the microsurvey to your brand’s personality, you can do that as well, without using any code.
If you want to segment your users as part of your onboarding, Userpilot lets you do that too. You can use a combination of the following segments…
- User attributes
- Custom events
- Location
- Feature tags
- Language
- Device
- NPS score
… to create some really unique user cohorts:

If you want to assign experience flows to your segments, Userpilot will firstly let you create a checklist…

… and then build a unique flow for each of the activation tasks on the list.
It’s in the building of experience flows that Userpilot really shines. The sheer diversity of tools you have at your fingertips is huge, ranging from tooltips and modals to hotspots and sliders.
Here’s what building a tooltip looks like in Userpilot:

To help you A/B test your product tours, Userpilot’s software also comes with a dedicated analytics suite.

Userpilot starts at $249 per month for up to 2500 MAUs.
Conclusion
After reading this article, your user onboarding should be a breeze!
You now know how to:
- Distinguish a linear product tour from an interactive walkthrough
- Recognize the key features of a product tour
- Build product tours without writing a line of code
Userpilot is an incredibly sophisticated tool that specializes in building interactive product tours.
You can give it a try for free, with no obligations whatsoever.
So what do you have to lose? Click on the banner to get started.